

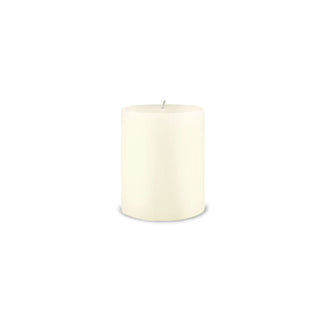
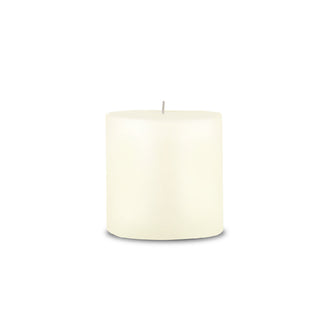
4" Pillar Candle (3" diameter) - Ivory
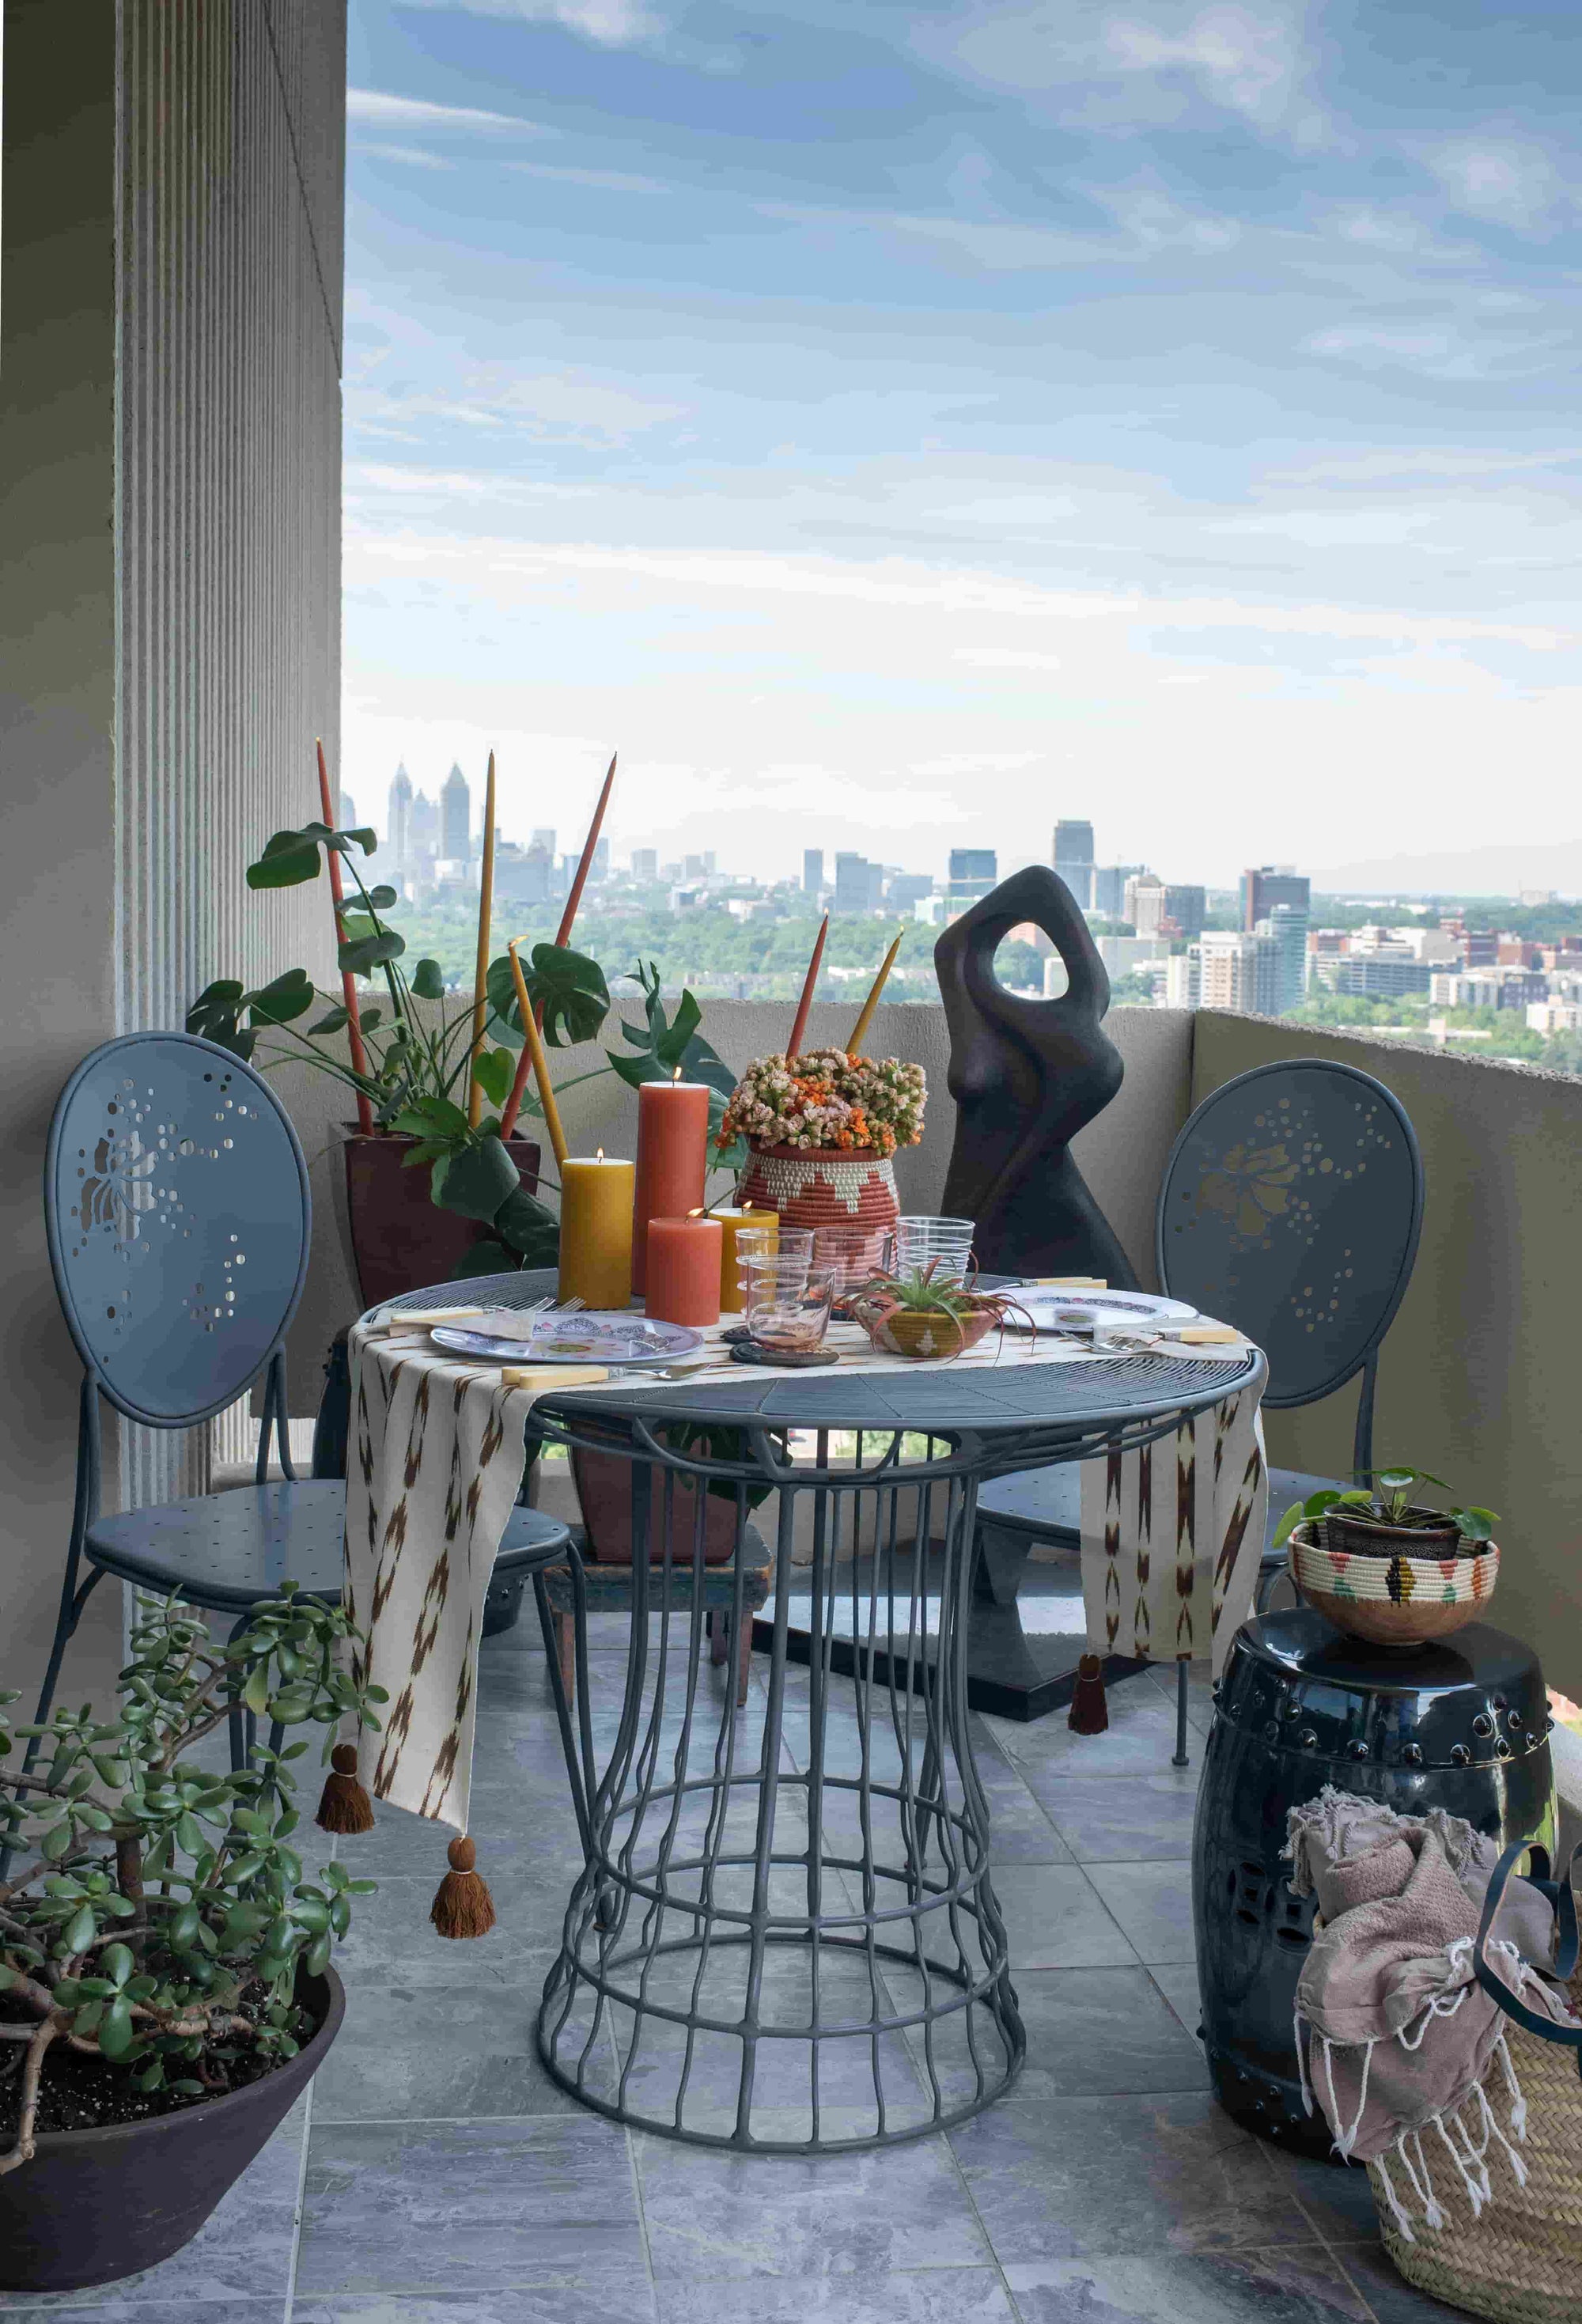
Candles are a beautiful way to bring light and warmth into your home, coming in a large variety of scents, colors, and shapes. While many candles come in jar containers, some candles, known as free-standing or pillar candles, stand all on their own.
But are pillar candles that different from the jarred kind? Before burning them in your home, are there any additional steps you need to know? Thankfully, we’ve got the answer to the burning question of how to burn a candle without a jar.
Candle Burning Tips
We all love candles and want to enjoy them for as long as we can. However, unless we properly care for our candles, they won’t burn for nearly as long as the manufacturer suggests. Tunneling, long wicks, and drafts can shorten a candle's life. Luckily, they are also easy problems that we can solve when we know what to watch for.
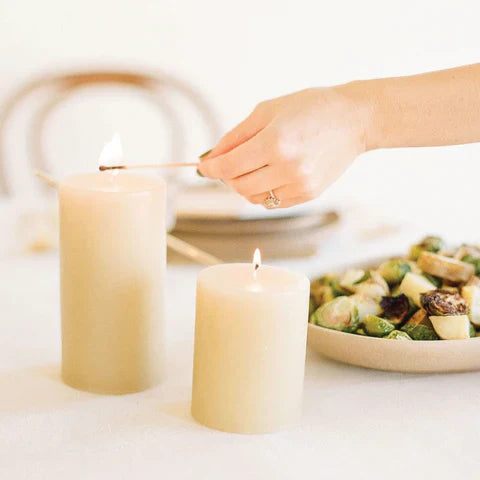
The first time you burn your candle, and every time thereafter, you should always make sure to trim the wick to 1/8 to 1/4 inch long. This is an important step because if your wick is too long, it may cause the flame to grow too large, burning the wax faster and shortening the life of your candle. You can trim your wick with scissors or even fingernail clippers, but it’s recommended that you use a candle trimmer because it will catch the wick and prevent it from falling into your candle and spreading ash.
It may surprise you to know that, like people, candles have “memory.” Though with candles, this means that they “remember” how long they burned the first time you lit them up and will continue to burn in this shape every time thereafter. If you only burn your candles for an hour or two, you won't melt enough of the wax, and soon a “tunnel” will form as the center of the candle continues to burn down, but the sides stay waxy. This effect will drastically reduce the life of your candle.
Luckily for us, candles are forgiving, and we can solve this problem in a few different ways. One way is to ensure the candle's first “memory” is good. The first time you burn a candle, it’s recommended to let it burn for a number of hours equal to the diameter of the candle (so a 4” diameter candle should burn for 4 hours). However, if you don’t want to break out a ruler, most pillar candles are between 3 and 4 inches across, so if you burn them for at least 3 hours, you should be fine. The important thing to watch for before you put the flame out is the wax has melted up to the edges of the candle.
4" Pillar Candle (3" diameter) - Ivory
6" Pillar Candle (3" diameter) - Ivory
4" Natural Pillar Candle (3" diameter) - Beeswax
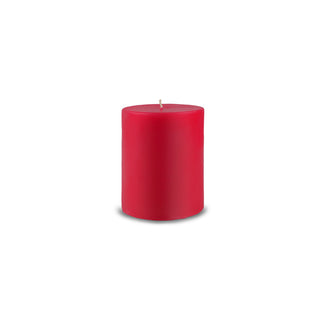
6" Pillar Candle (3" diameter) - Holiday Red
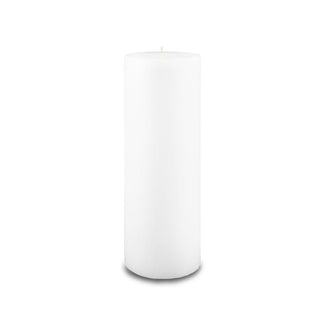
6" Pillar Candle (3" diameter) - White
4" Pillar Candle (4" diameter) - Ivory
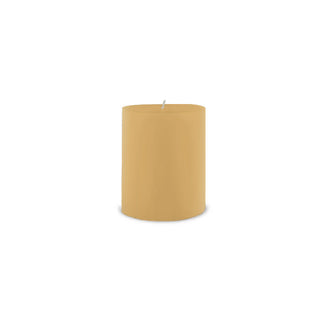
4" Pillar Candle (3" diameter) - Café au Lait
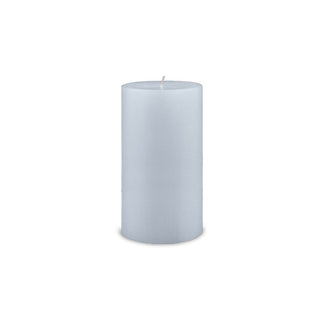
6" Pillar Candle (3" diameter) - Misty Morning
3" Contemporary Pillar Candle (6" diameter) - Ivory
3" Comtempoary Pillar Candle (6" diameter) - White

6" Pillar Candle (3" diameter) - Honeysuckle
How to Fix Tunneling
But what if you have to put the flame out early, or the candle already has a bad “memory?” If you find your candle has already started to tunnel, a little tin foil will fix that right up! Just follow these steps.
Once you’ve removed the foil, you should find that the center of your candle has liquified up to the edges. This will give your candle a new “memory” and ensure that the next time you burn your candle, it melts properly and no longer tunnels. Remember to keep an eye on your candle while you do this. Remove the foil early and put the candle out if it looks as if the edges might melt or the wax may spill out the sides.
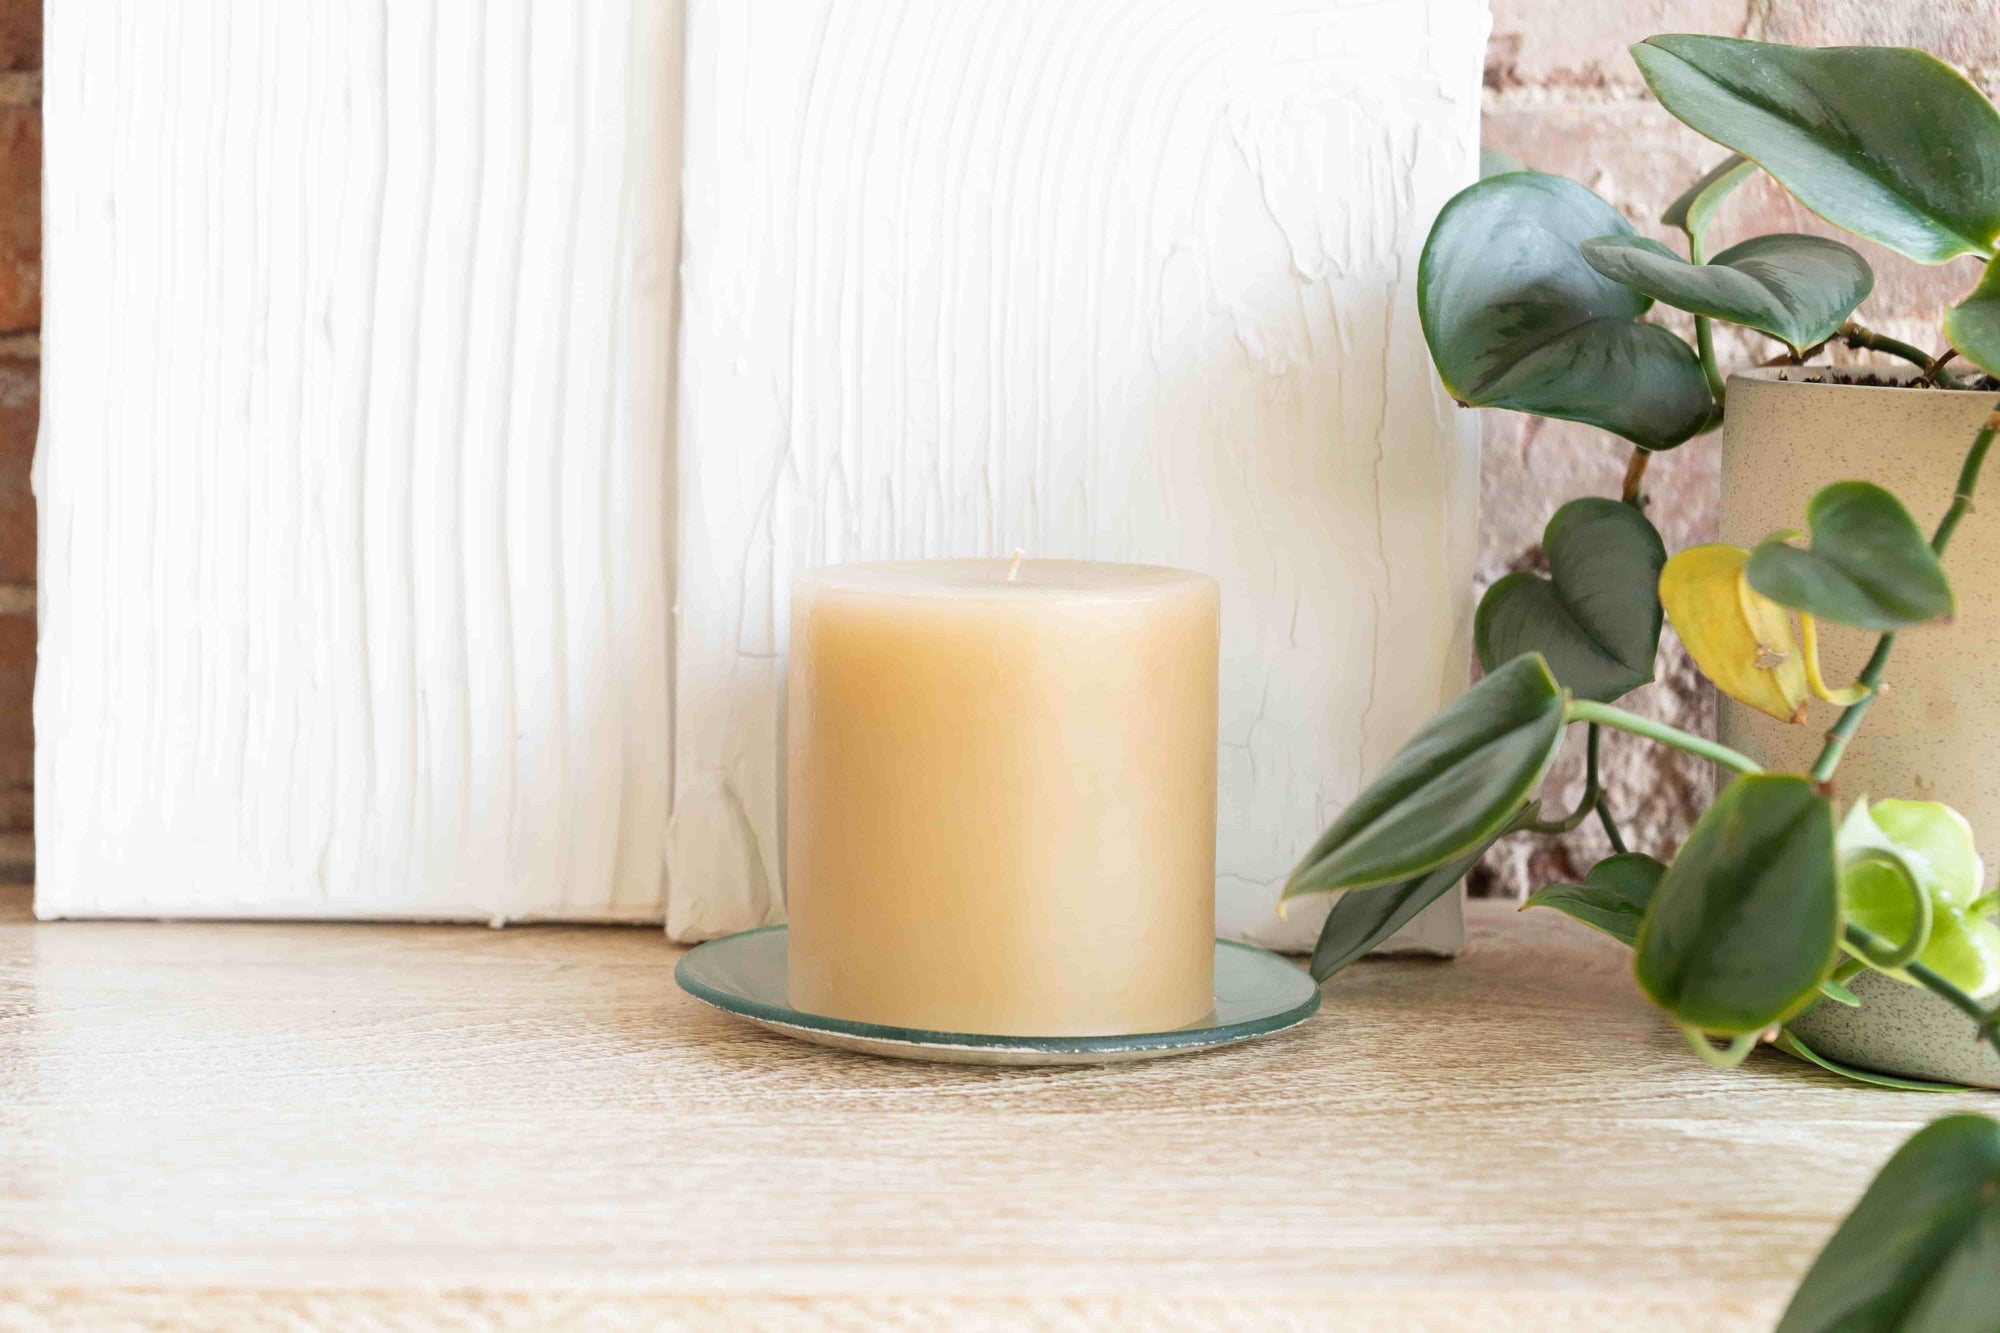
After you’ve burned a candle, the last thing you want to do is to discover that it’s damaged the surface underneath. Or worse still, that it started a fire. This is why it’s important to place your candle on a heat-resistant surface while it's lit.
Stovetops, granite countertops, and wooden tables and shelves that have been treated to be fire-resistant are all good surfaces to burn your pillar candles on. If you aren’t sure if a surface is safe, placing your jarless candles on a plate is a good way to help protect it. Plates or trays made from ceramic or glass are ideal, as they will help disperse the heat from the candle as it burns.
Not all surfaces are safe to burn candles on. Here are the surfaces you should avoid:
Additionally, make sure that wherever you burn your candles, they have several feet of clearance above them. Even if there is no chance of the flames burning the surface above it, the smoke from the candle could still leave a burn mark if a shelf or cabinet is located too close above it.


Mold Your Candle for Success
After the first burn (or possibly after you’ve “reset” the candle's memory as described above), you’ll want to make sure that the edges of your pillar candle stay strong so that they don’t spill wax. To do this, once you’ve put out the flames, gently put your hands around the top edges of the candle and push the wax inward to create a small lip. Doing this ensures that the walls don’t break down and spill wax, allowing your candle to live a longer and brighter life.
Caution! As always, carefully test the wax first and make sure that it isn’t too hot. If it is, let it cool for a minute or two, and then try again. Never try this while the candle is burning, and never try to move a candle while the wax is liquified, as it could spill and cause burns or other damage.
9" Pillar Candle (3" diameter) - Terra Cotta
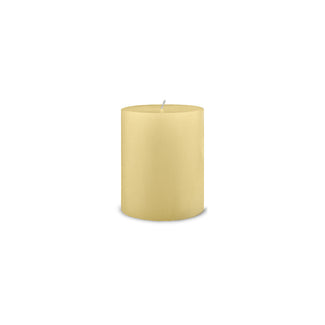
6" Pillar Candle (3" diameter) - Maize
6" Pillar Candle (3" diameter) - Honeysuckle
4" Pillar Candle (4" diameter) - Ivory
A Final Note on Burning Candles
By using the steps above, you should be able to get full use of your pillar candles, and they should last for as long as the manufacturer says. But eventually, you’ll have to say goodbye to it. Pillar candles should not be burned when they are approximately 1 to ½ inch in height. Attempting to burn a candle lower than this becomes a fire hazard, so remember to retire the candle at this height and thank it for all the beauty it’s brought to your space during its long burning time.
At Creative Candles, we've been creating small-batch, artisan-made premium candles since 1961. By preserving the centuries-old art of candle making, we’re ensuring that the world has access to premium, high-quality candles that provide the perfect ambiance for any occasion.


