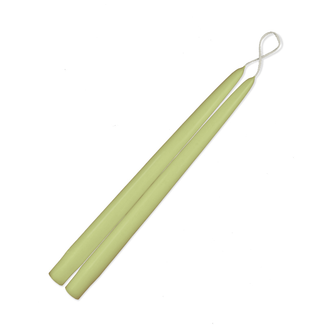
12" Taper Candle (7/8" diameter) - Pistachio
With so many sizes, designs, and colors available, candles are a popular choice for adding warmth and style to any space. But to ensure you get the most enjoyment out of them, it’s important to give your candles the right level of care and attention.
Luckily, it doesn’t take much time to show your candles some proper TLC. To help you out, we’ve put together a complete start-to-finish list of simple candle care tips that’ll give you the perfect burn every time.
How to Store Candles
Most candles stay in good condition for around 12-16 months after purchase. While you can still use old candles, you’ll probably find that the quality of their burn, fragrance, and color has diminished. Knowing how to store candles correctly helps you keep them fresh for as long as possible.
Temperature and light exposure are two key factors in candle degradation. So it’s a good idea to keep yours in a cool, dark place like a cupboard or basement. Some people even place their spare candles under a glass cloche so they can remain on display even during storage.
If you notice condensation on the surface of your stored candles, it means the temperature is changing too frequently. Wipe them with a paper towel and store them somewhere with a more consistent temperature.
When You Burn
Of all our candle care tips, this might seem the most obvious. But you’d be surprised how easy it is to forget.
As your candle melts, a small pool of wax will form at its base. This melted wax still retains a lot of heat, which can damage your furniture. Place your candle on a heat-resistant surface – or better yet, in a candle holder – to avoid unnecessary burn marks.
The first burn of a new candle is a vital step in how to burn a candle evenly.
When you light it for the first time, be sure to let the surface of the candle melt completely. Putting it out too early can create a rim of hard wax that never melts even as the wick and central wax continue to burn down. This is known as tunneling.
As a standard practice, it’s best to burn a new candle for around 1-3 hours before extinguishing the flame. So don’t start new candles when you don’t have time to enjoy them!
Let Each Burn Last 3-4 Hours
We already mentioned that burning your candle for a short time can cause tunneling. But if you’re using a scented candle, it can also mean that the fragrances don’t have time to release. That’s because those delicious smells don’t come from the candle itself but rather evaporation from the pool of hot wax.
Letting your candle burn for too long can also be problematic. This can lead to your candle overheating, which in turn thins the wax. As well as damaging the fragrance oils and causing your candle to put off soot, your candle may slant and burn unevenly.
Keep it Away from Wind
Of course, a strong breeze can blow your candle out. But even gentle wind from a draft, window, or air vent can cause the candle to burn quickly and unevenly. So if you see the flame flickering, put your candle somewhere else or utilize a hurricane glass container.
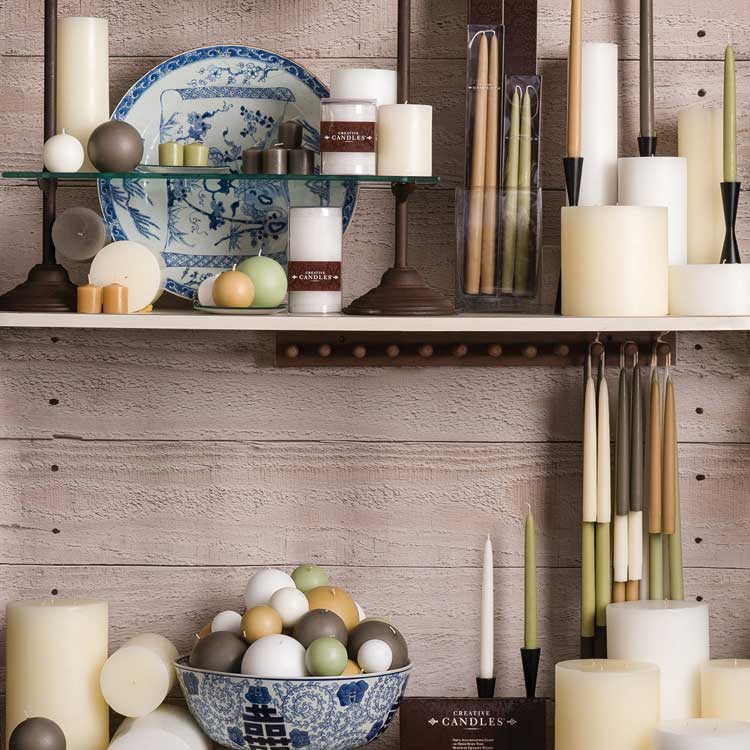

12" Taper Candle (7/8" diameter) - Pistachio
9" Taper Candle (7/8" diameter) - Ivory
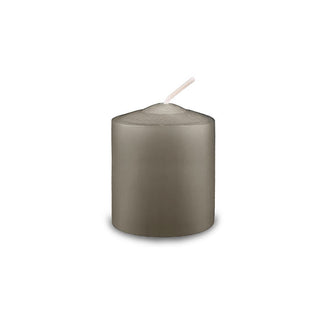
8/box Votive Candle - Paris Gray
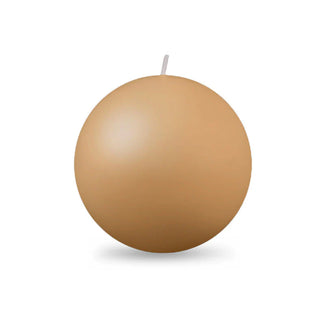
3 1/8" Large Ball Candle - Café au Lait
Extinguish with a Candle Snuffer
Most people simply blow out their candles once they’re done. But this bad habit kicks soot and wax up into the air, which is unhealthy to breathe in.
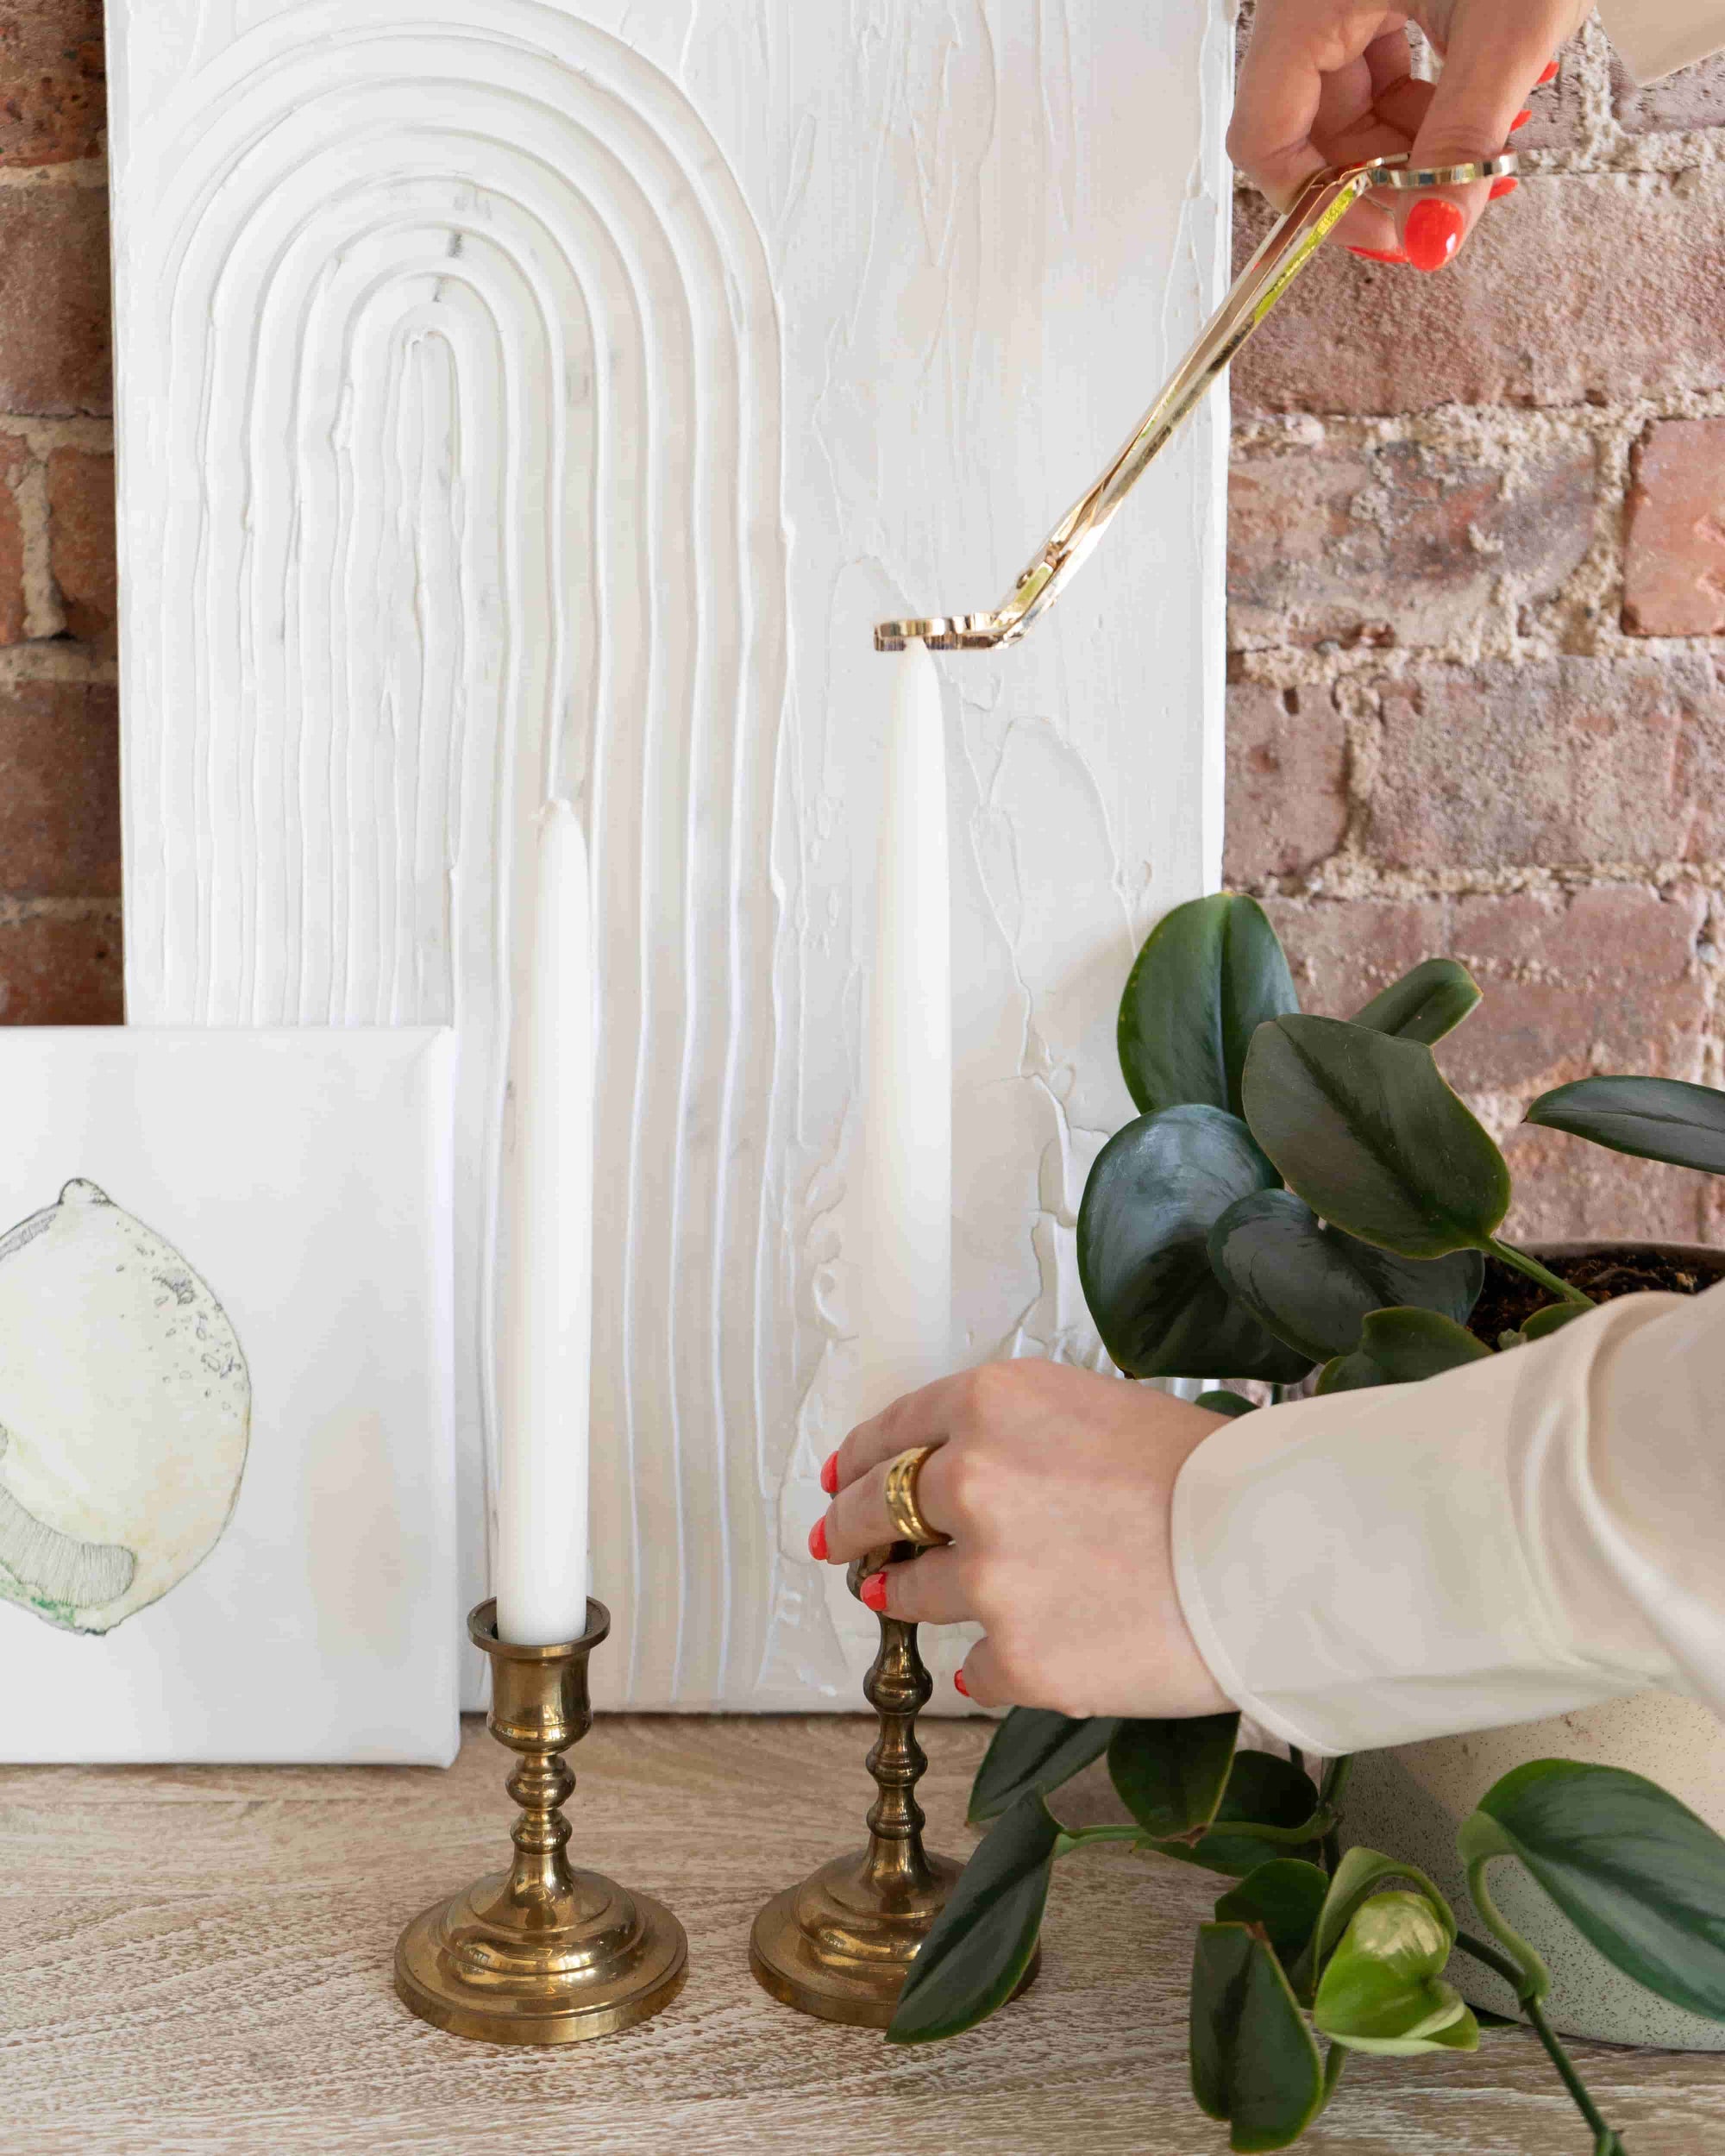
To maintain good air quality and save time on cleaning, put your candle out with a candle snuffer instead. Once you do, center and straighten the wick ready for your next burn.
Once You’re Done
While the wick of a candle also burns up during use, it doesn’t disappear as quickly as wax. Lighting a wick that’s too long causes the wax to burn more quickly and unevenly, which leads to drips even in dripless candles. You might also see high flames, smoking, and sooting, all of which should be avoided.
Before your next burn, use a wick trimmer to cut the wick to around ¼”. Be sure not to go below this length, though, as a short wick can be put out by melting wax. It might not even light at all!
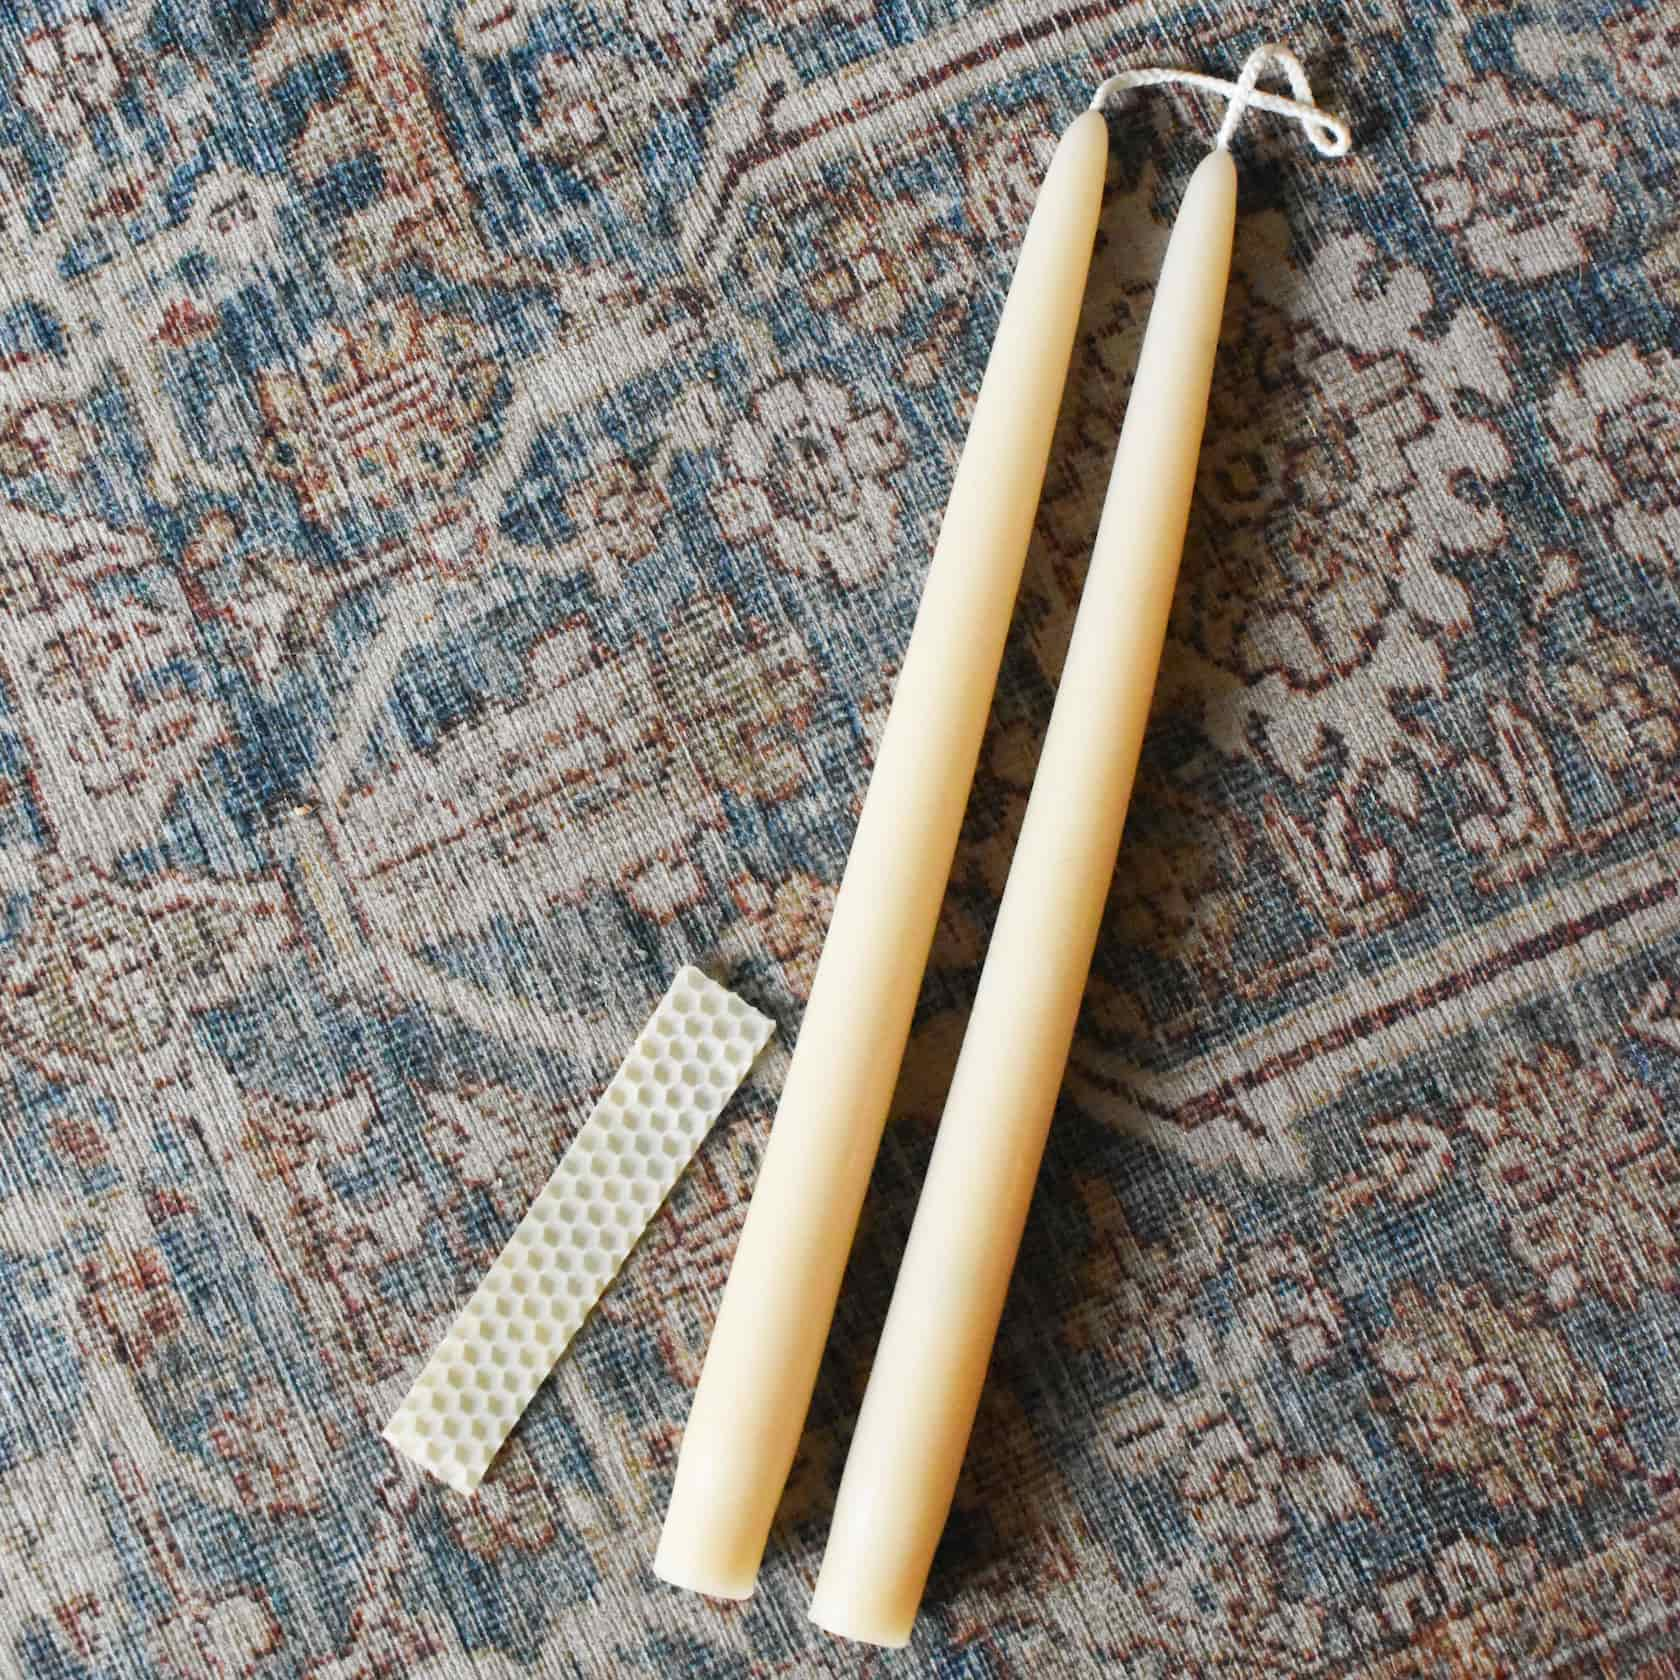
Your candle might also have been knocked off balance since its last use, so remember to reposition it as well. Beeswax strips are great for keeping your candles straight, letting you enjoy an even burn every time.
Over time, soot and other debris can build up on your candle and inside the holder. If this extends above the wax, the flame can ignite it. As well as being a safety risk, these multiple flames can cause your candle to overheat and burn unevenly.
Start by using tweezers to pluck wick trimmings and other larger debris from the wax. Then, wipe your candle with a dry towel to remove soot, fingerprints, and other small particles.
Replace Your Candle Before it Burns Out Entirely
One of the best candle care tips that many people don’t follow is retiring a candle while it still has wax left. This is important because burning a candle all the way down can overheat and damage the container, which can create serious mess. Instead, replace your candle while it still has around ½” of wax remaining to protect the container and save yourself some hassle.
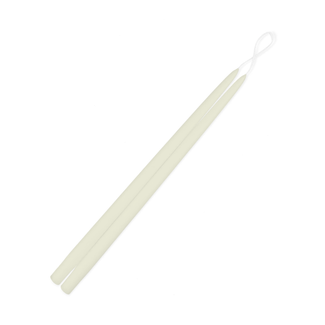
12" Thin Taper Candle (1/2" diameter) - Ivory
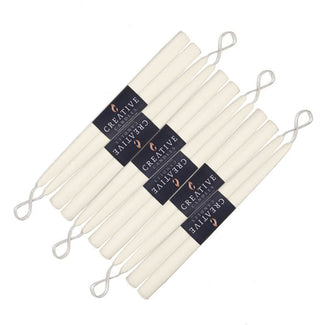
12" Taper Candle (7/8" diameter) 6pk - Ivory
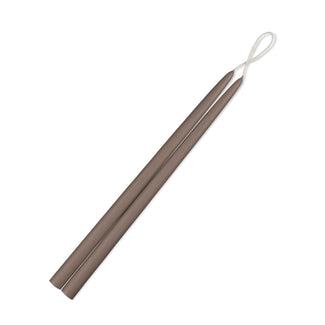
12" Thin Taper Candle (1/2" diameter) - Paris Gray
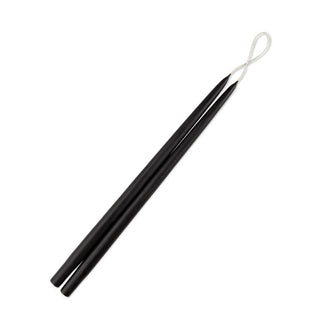
12" Thin Taper Candle (1/2" diameter) - Black

9" Taper Candle (7/8" diameter) - Ivory
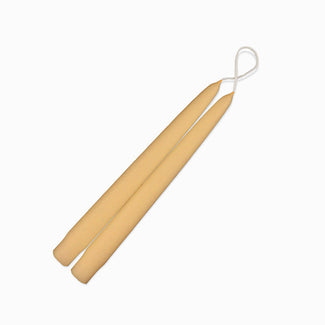
9" Taper Candle (7/8" diameter) - Café au Lait
9" Taper Candle (7/8" diameter) - White
Clean Out the Holder
Candle holder maintenance is just as important as our candle care tips for getting the most enjoyment from your candles. Once you remove your spent candle, use a spoon to carefully scrape the melted wax from the holder. You can also use a mug warmer to make the process easier.
After clearing the wax, clean and dry the holder ready for your next candle!
Enter the Lap of Luxury with Premium Handmade Candles
Properly storing, burning, and caring for your candles lets you enjoy them as much as possible for as long as possible. But if you’re looking to create the ultimate ambiance of comfort and class, there’s no better option than premium handmade candles.
Visit our online store now to find handmade pillars, tapers, balls, and other luxury candles of all sizes with more than 40 colors to choose from!